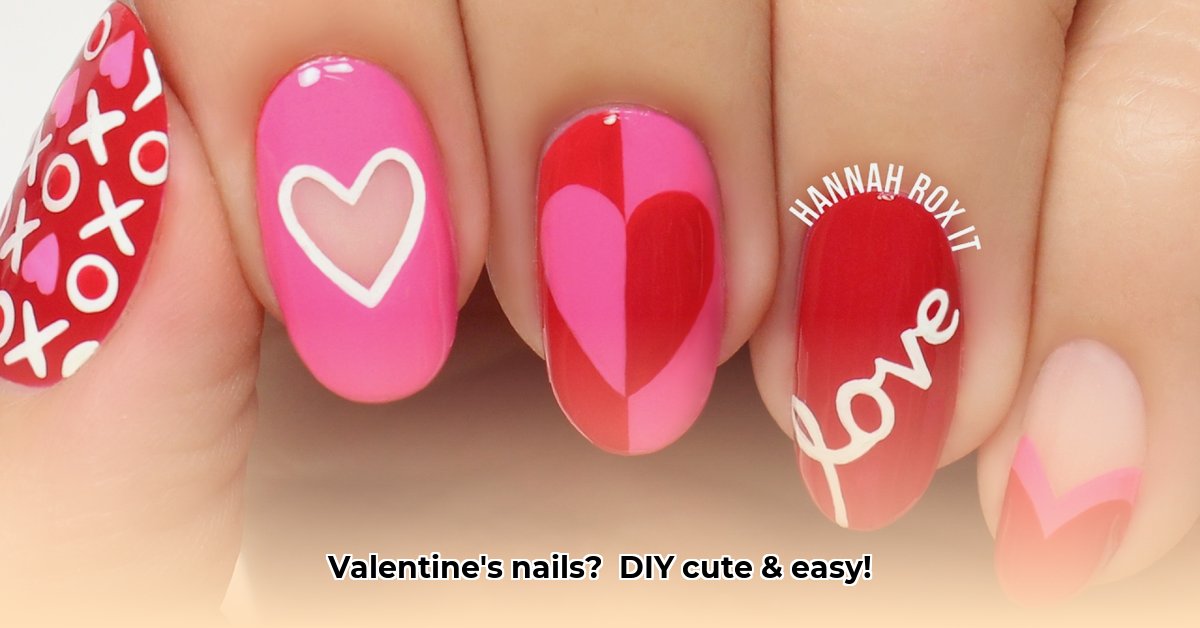
Ready to give your nails a romantic refresh for Valentine's Day without the salon price tag? This year, we're all about adorable, easy-to-do designs perfect for beginners and pros. Forget complicated nail art; these cute and simple designs will have your fingertips looking fantastic in no time. Let's dive into some seriously sweet nail inspiration!
Hearts on Parade: A Beginner-Friendly Classic
This design is as timeless as Valentine's Day itself – and surprisingly simple! Think of it as your perfect "first date" manicure.
Skill Level: Beginner
What You'll Need: Base coat, red or pink nail polish (your favorite!), a thin nail art brush (or even a toothpick!), and a top coat.
Step-by-Step:
- Prep Work: Start with a base coat to protect your nails and improve polish longevity.
- Base Color: Apply two thin coats of your chosen color – a classic red is festive, but a pretty pink is equally lovely. Let each coat dry completely.
- Heartfelt Detail: Once dry, use your thin brush (or toothpick) to paint tiny hearts near your cuticle or along the tips. Don't worry about perfection; slightly imperfect hearts add charm.
- Finishing Touch: Seal with a top coat for shine, protection, and longer wear.
Variations: Experiment with a blush pink and gold combo for a sophisticated look, or try white hearts on a bold red background. Add glitter to your hearts for extra sparkle!
Subtle Shimmer: A Touch of Glitter Glam
Want a little sparkle without the fuss? This understated design is perfect for a delicate touch.
Skill Level: Beginner
What You'll Need: Base coat, a neutral-toned polish (nude, pale pink, or soft grey), a glitter polish (rose gold, silver, or red!), and a top coat.
Step-by-Step:
- Lay the Foundation: Begin with a base coat.
- Neutral Base: Apply two thin coats of your neutral polish, letting each dry completely.
- Glitter Gradient: Gently dab glitter polish toward the tips, creating a subtle gradient. Leave more glitter at the tips and less near the cuticle.
- Seal the Deal: Finish with a top coat.
Variations: Apply the glitter only to the tips for a Valentine's Day French manicure. Play with different glitter colors – rose gold for romance, silver for a modern vibe, or red glitter for a bolder statement.
Modern French Tips: A Classic with a Romantic Twist
The classic French manicure gets a Valentine's Day upgrade! It's elegant and surprisingly easy.
Skill Level: Easy
What You'll Need: Base coat, a light pink or nude polish, a slightly darker pink or red, and a top coat. Striping tape (optional, for perfectly straight lines).
Step-by-Step:
- Prepare: Begin with a base coat.
- Base Coat of Color: Apply two thin coats of your light pink or nude shade. Let each coat dry completely.
- Tip Perfection: Use the darker polish to paint a thin line along the tips. Use striping tape for perfectly straight lines.
- Finishing Touches: Finish with a top coat.
Variations: Create a softly curved or angled tip. Try a heart-shaped tip. Experiment with white and red color combinations.
The "Bleeding Heart" Design: A Touch of Romantic Mystery
This design looks intricate but is easier than it seems! A great option for those wanting to level up their nail art game.
Skill Level: Intermediate
What You'll Need: Base coat, a red or pink polish, a slightly darker shade, a small dotting tool or toothpick, and a top coat.
Step-by-Step:
- Base Coat: Start with a base coat.
- Base Color: Paint your nails with two thin coats of the lighter shade. Let them dry completely.
- Heart Core: Use your dotting tool and the darker color to create small dots in the center of each nail to form the heart core.
- Bleeding Effect: Gently blend the darker shade outwards, creating a soft, feathery effect. A clean brush helps soften edges.
- Seal it In: Finish with a top coat.
Variations: Try different color combinations, such as dark burgundy and lighter rose. Add a delicate silver accent to the heart center for extra sparkle.
Checkerboard Chic: A Playful and Flirty Vibe
This design adds a unique, playful touch to your Valentine's Day look.
Skill Level: Intermediate
What You'll Need: Base coat, two contrasting colors (red and white, pink and black, or pastel pinks and blues), thin striping tape, and a top coat.
Step-by-Step:
- Base Color: Apply your base coat, followed by two coats of one chosen color. Let it dry thoroughly.
- Tape it Up: Apply thin strips of striping tape to create a checkerboard pattern. Ensure the tape adheres well.
- Second Color: Paint over the tape with your second color. Remove the tape immediately. Let it dry completely.
- Top it Off: Finish with a top coat.
Variations: Experiment with color combinations. Metallic gold and black create a luxurious look; pastels offer a softer vibe. Add the checkerboard pattern to only one accent nail on each hand for a simpler style.
Remember to have fun and let your creativity shine! These simple yet cute Valentine's Day nails are designed to be personalized to your unique style. Grab your polishes, and let's create some nail art magic!